How to fill out a Challenge Statement
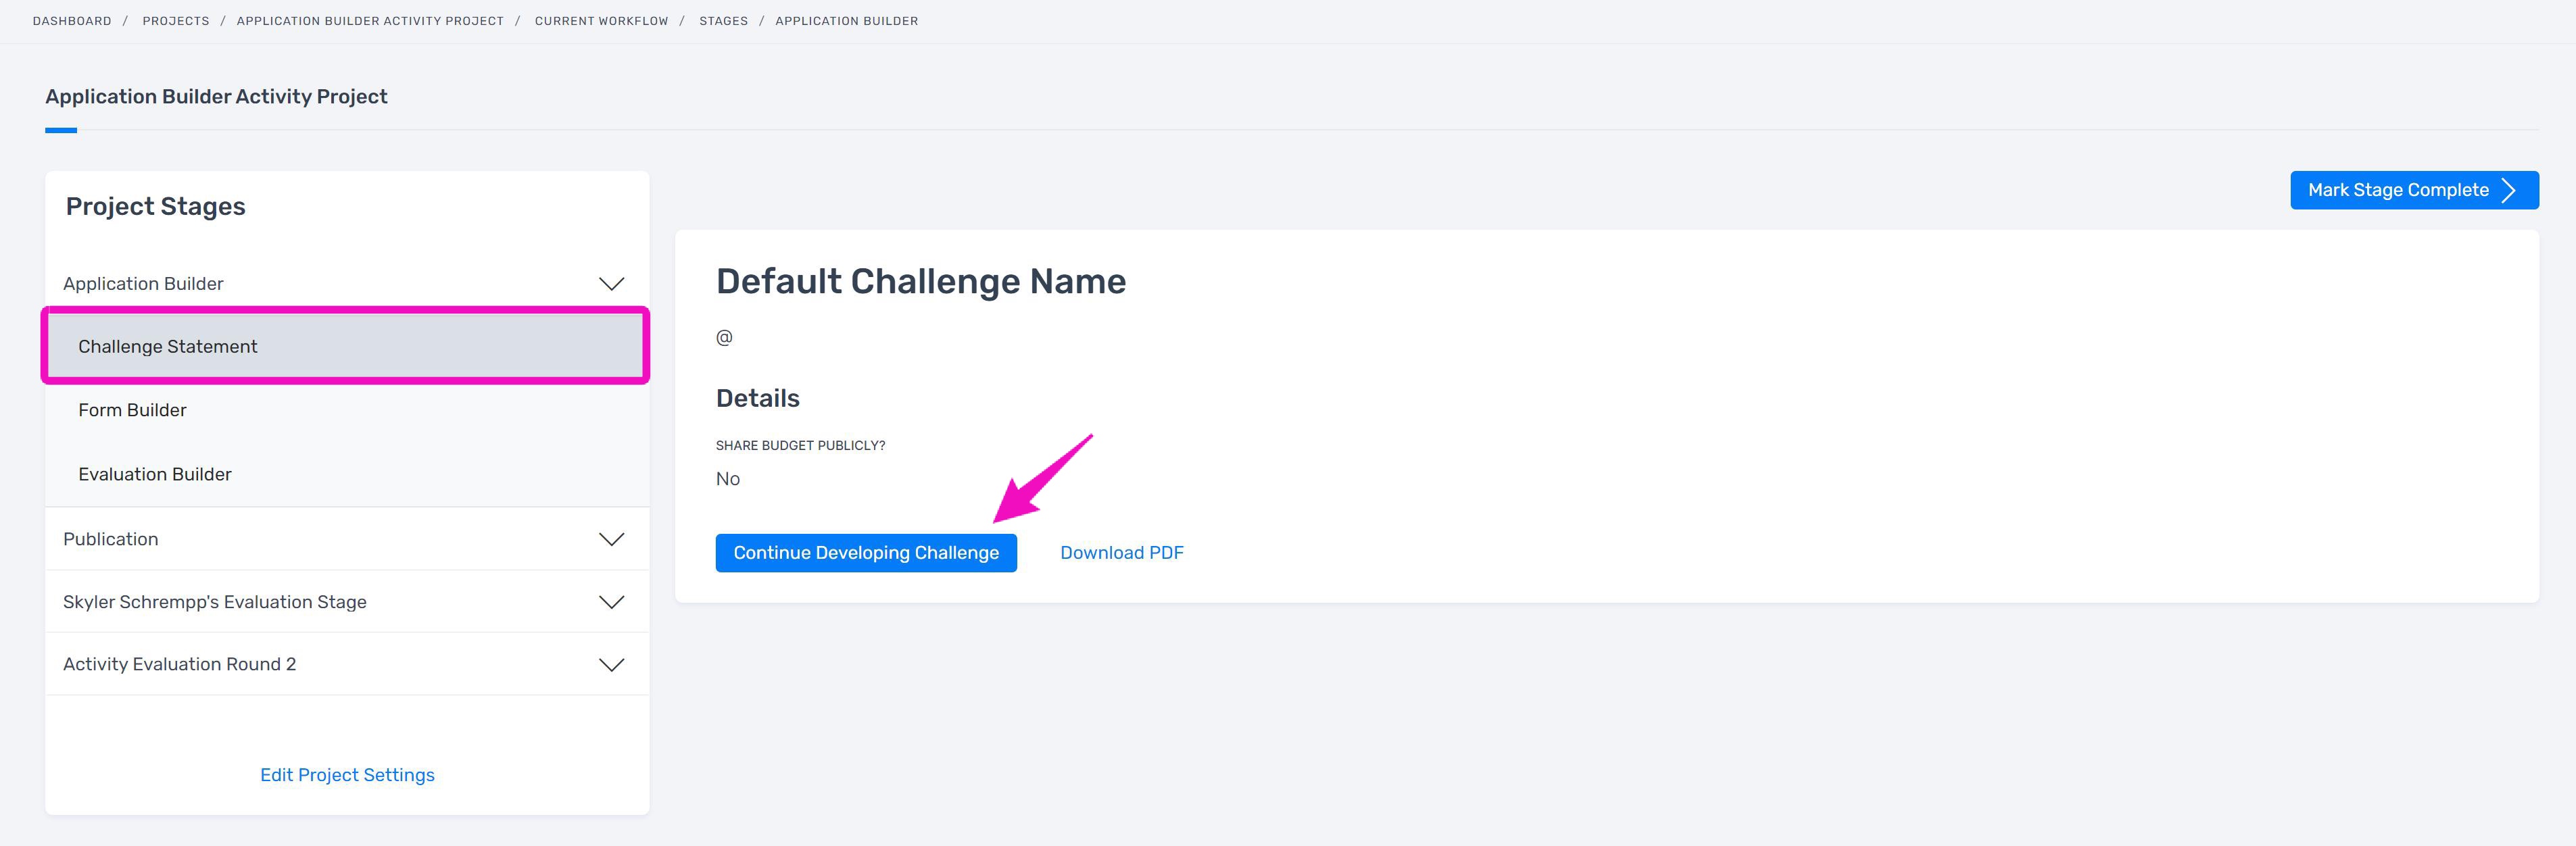
In an Application Builder project, navigate to the “Challenge Statement” substage via the Project Stages. Click "Continue Developing Challenge".
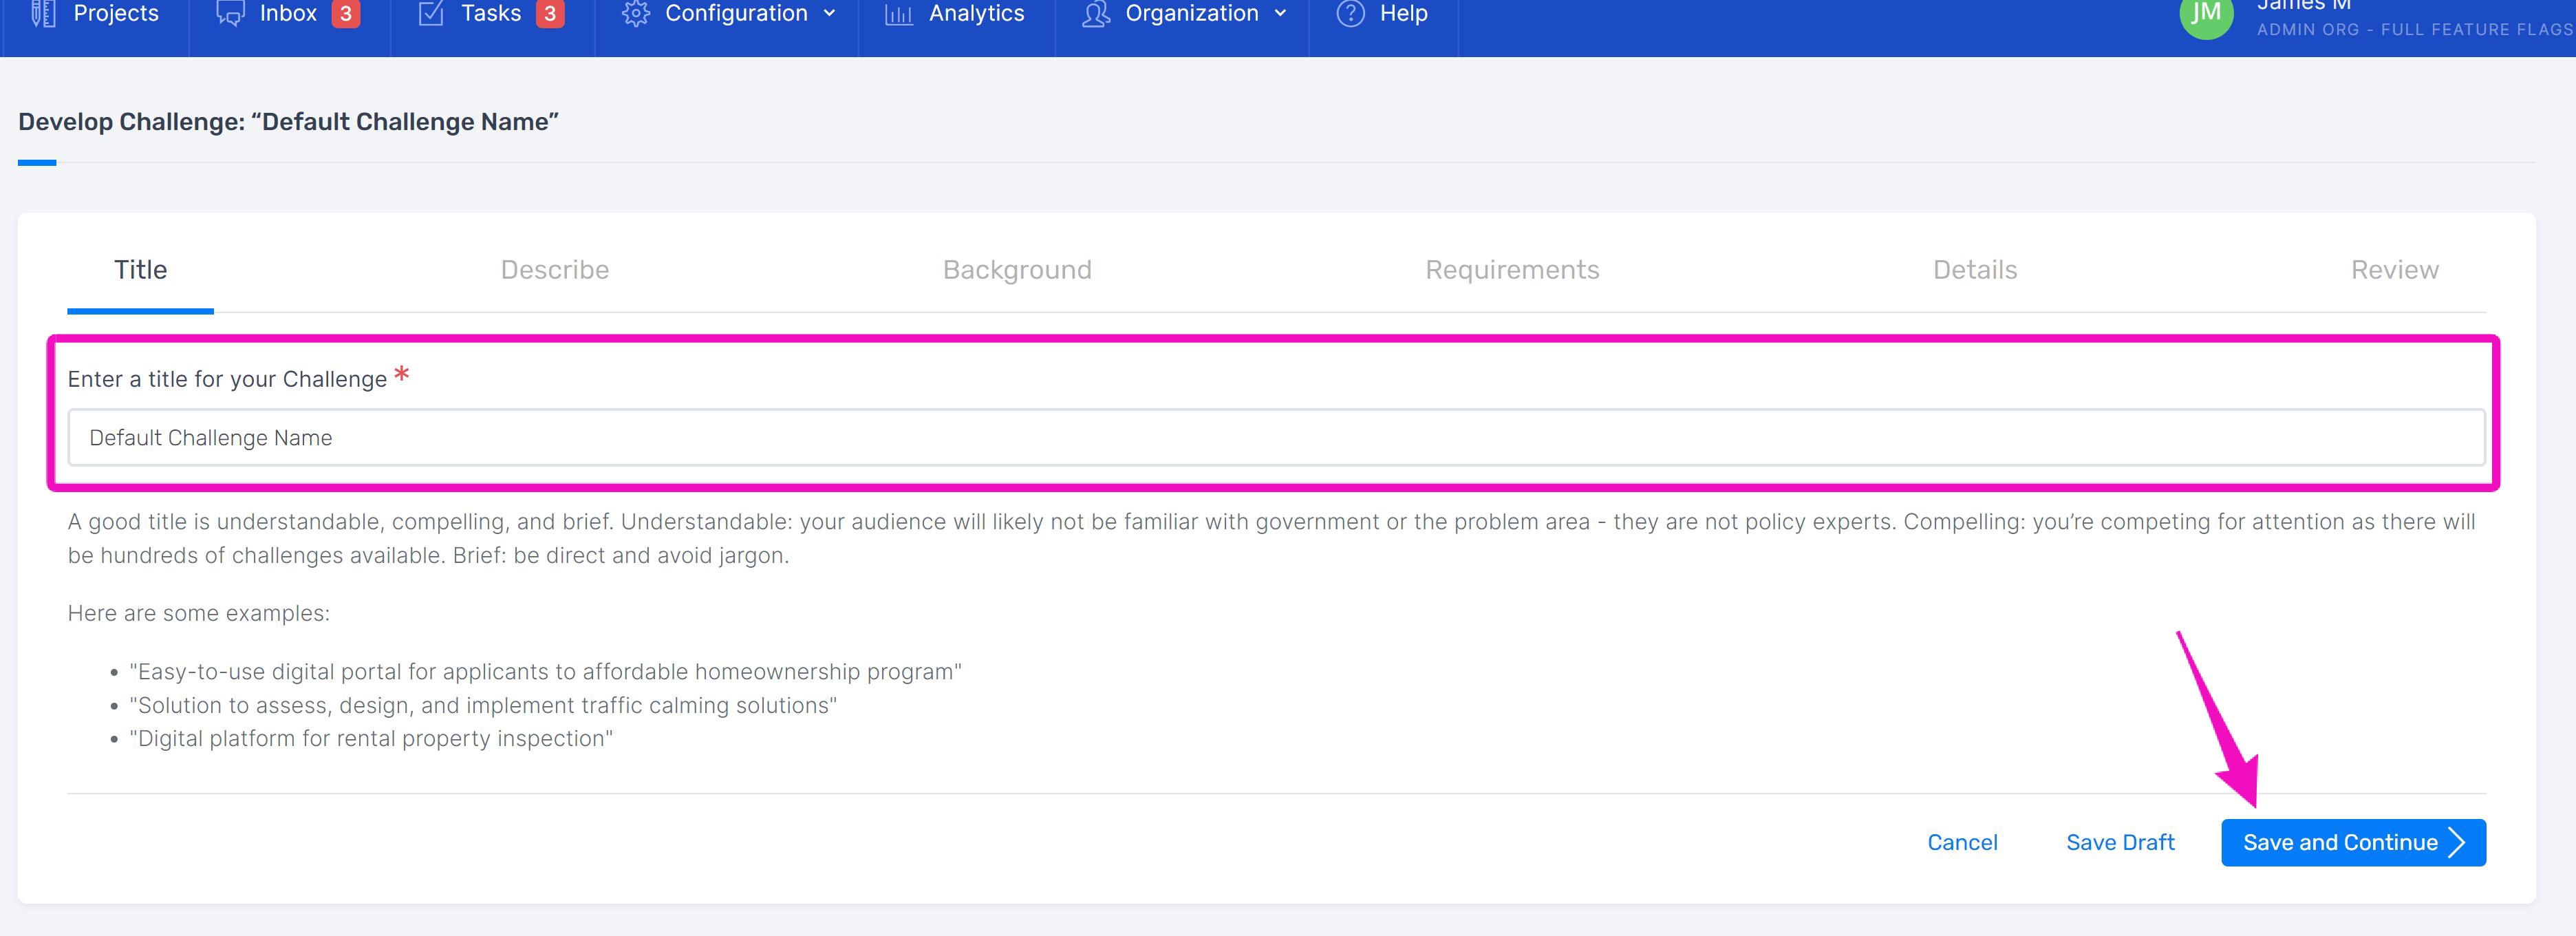
Provide a title for the challenge your agency wishes to address. Then, save and continue.
Describe
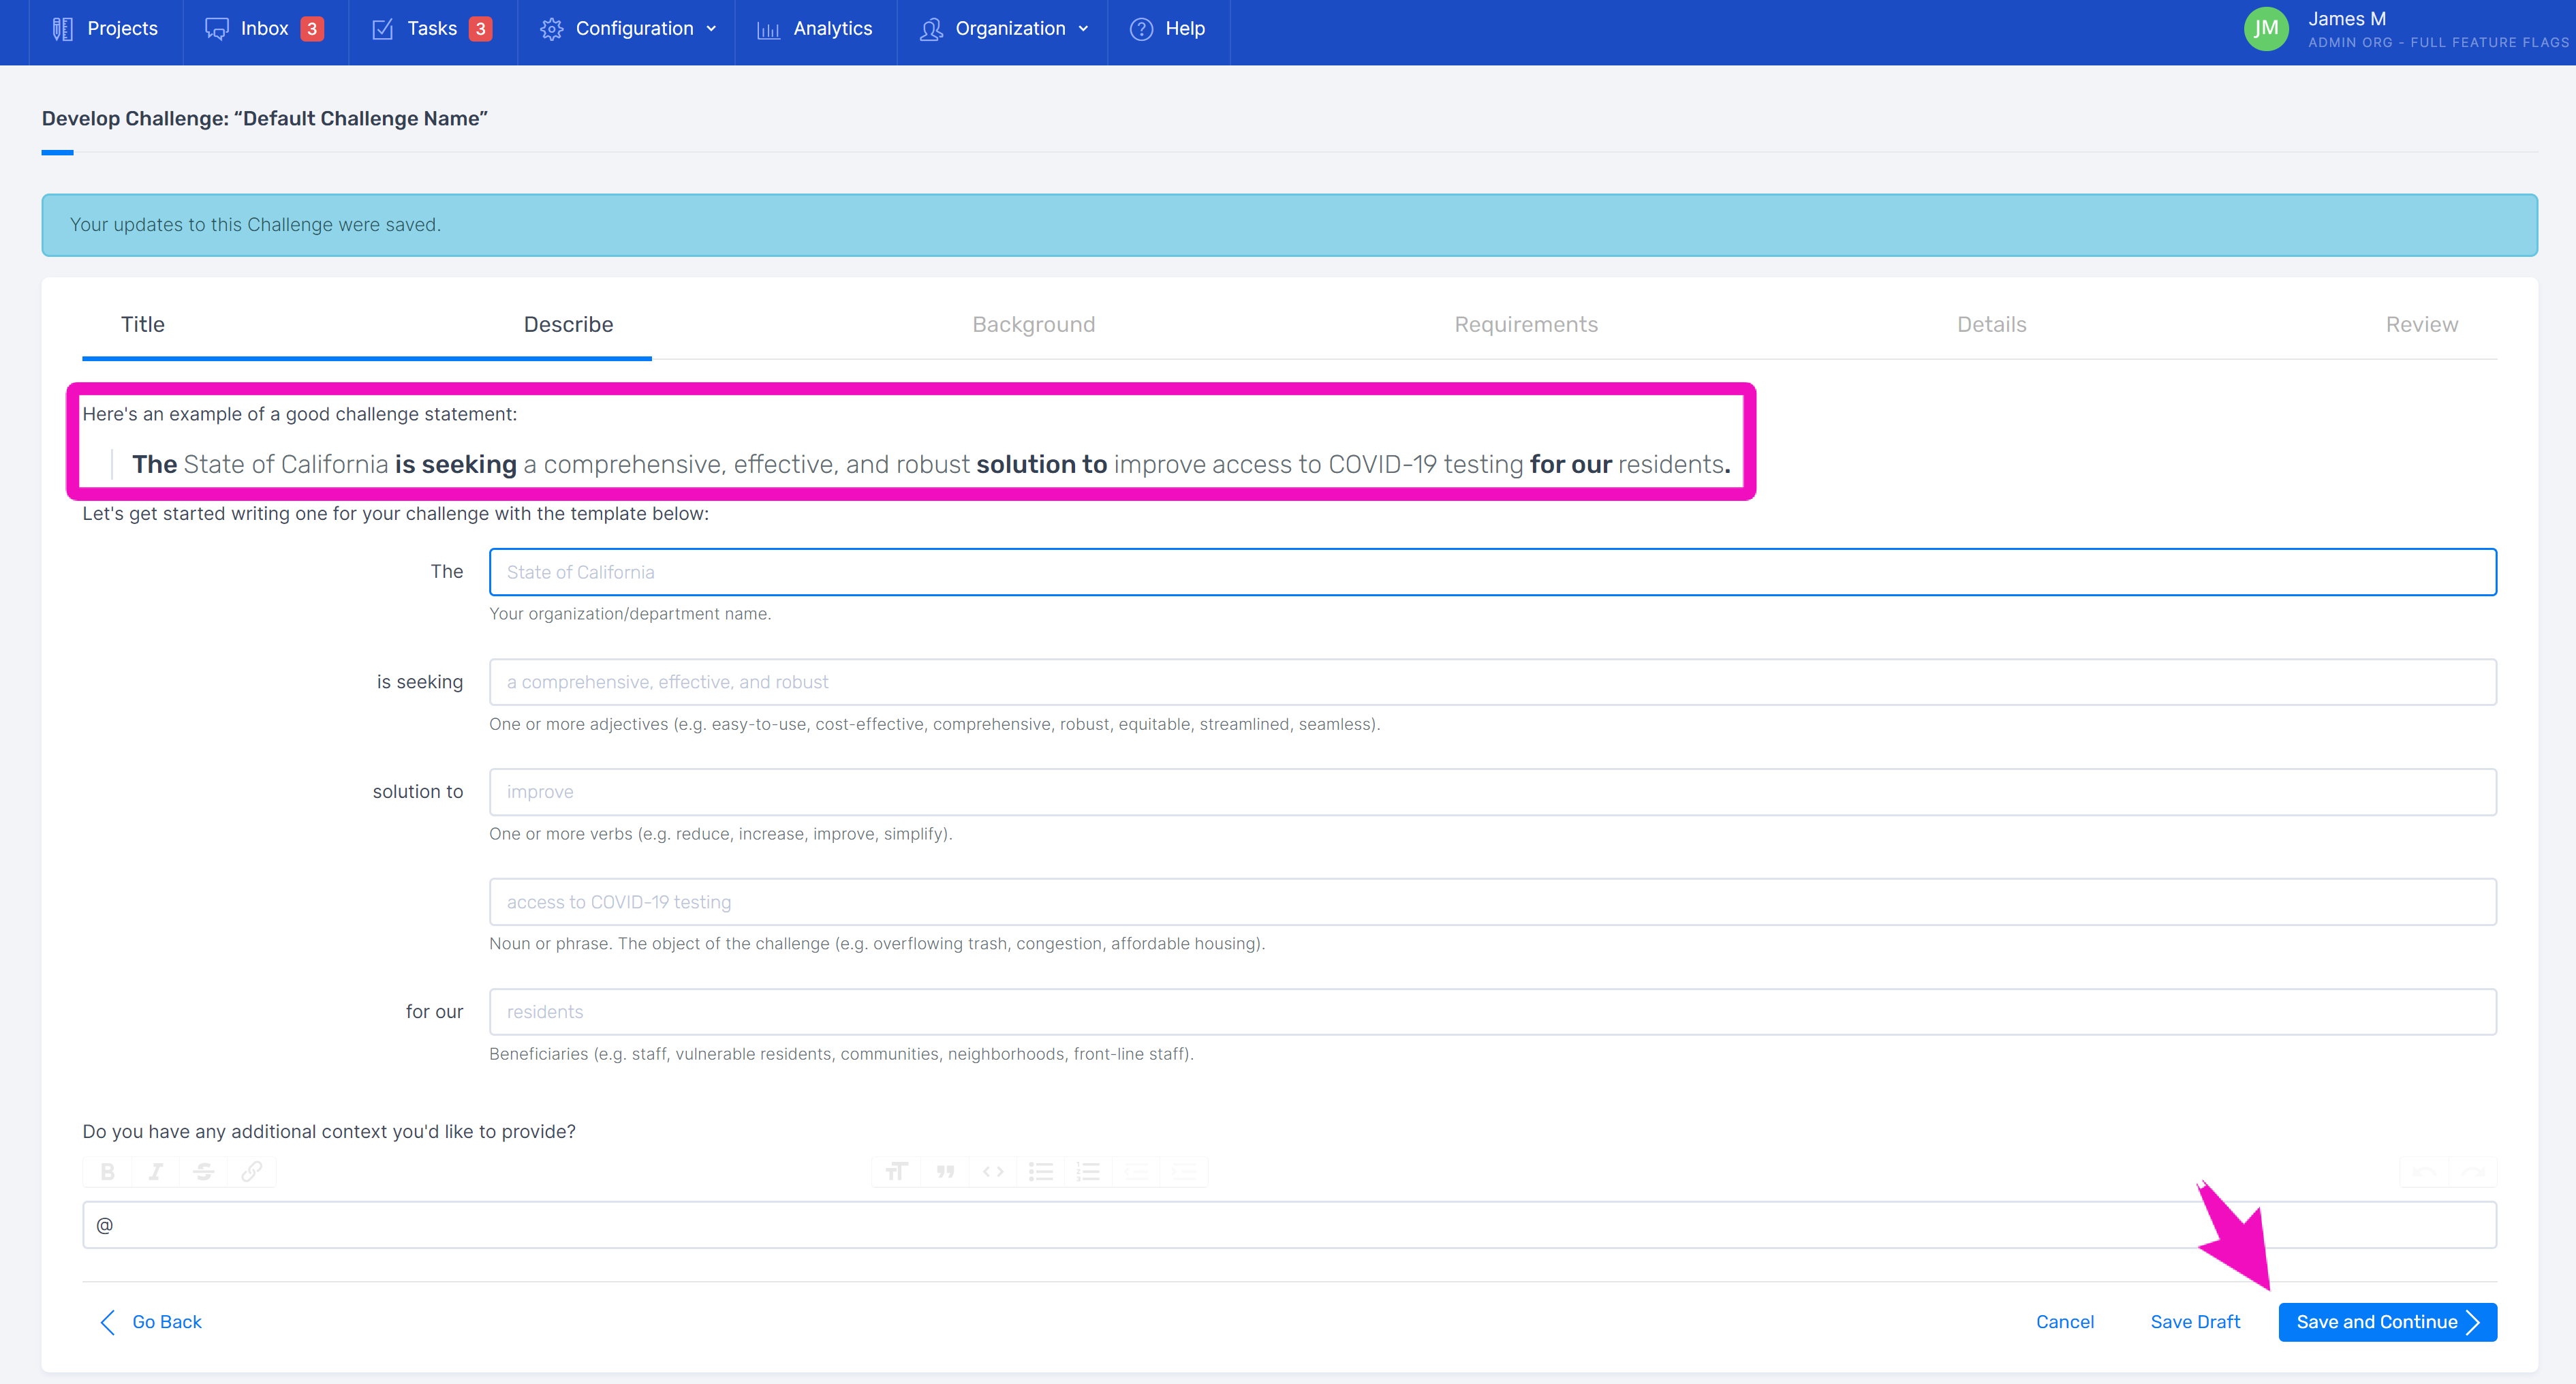
Next, describe the challenge. The platform will provide an example of a completed challenge statement for reference.
You will be provided with text fields that break down your statement into smaller chunks with prompts, provide any additional context and continue on.
Background
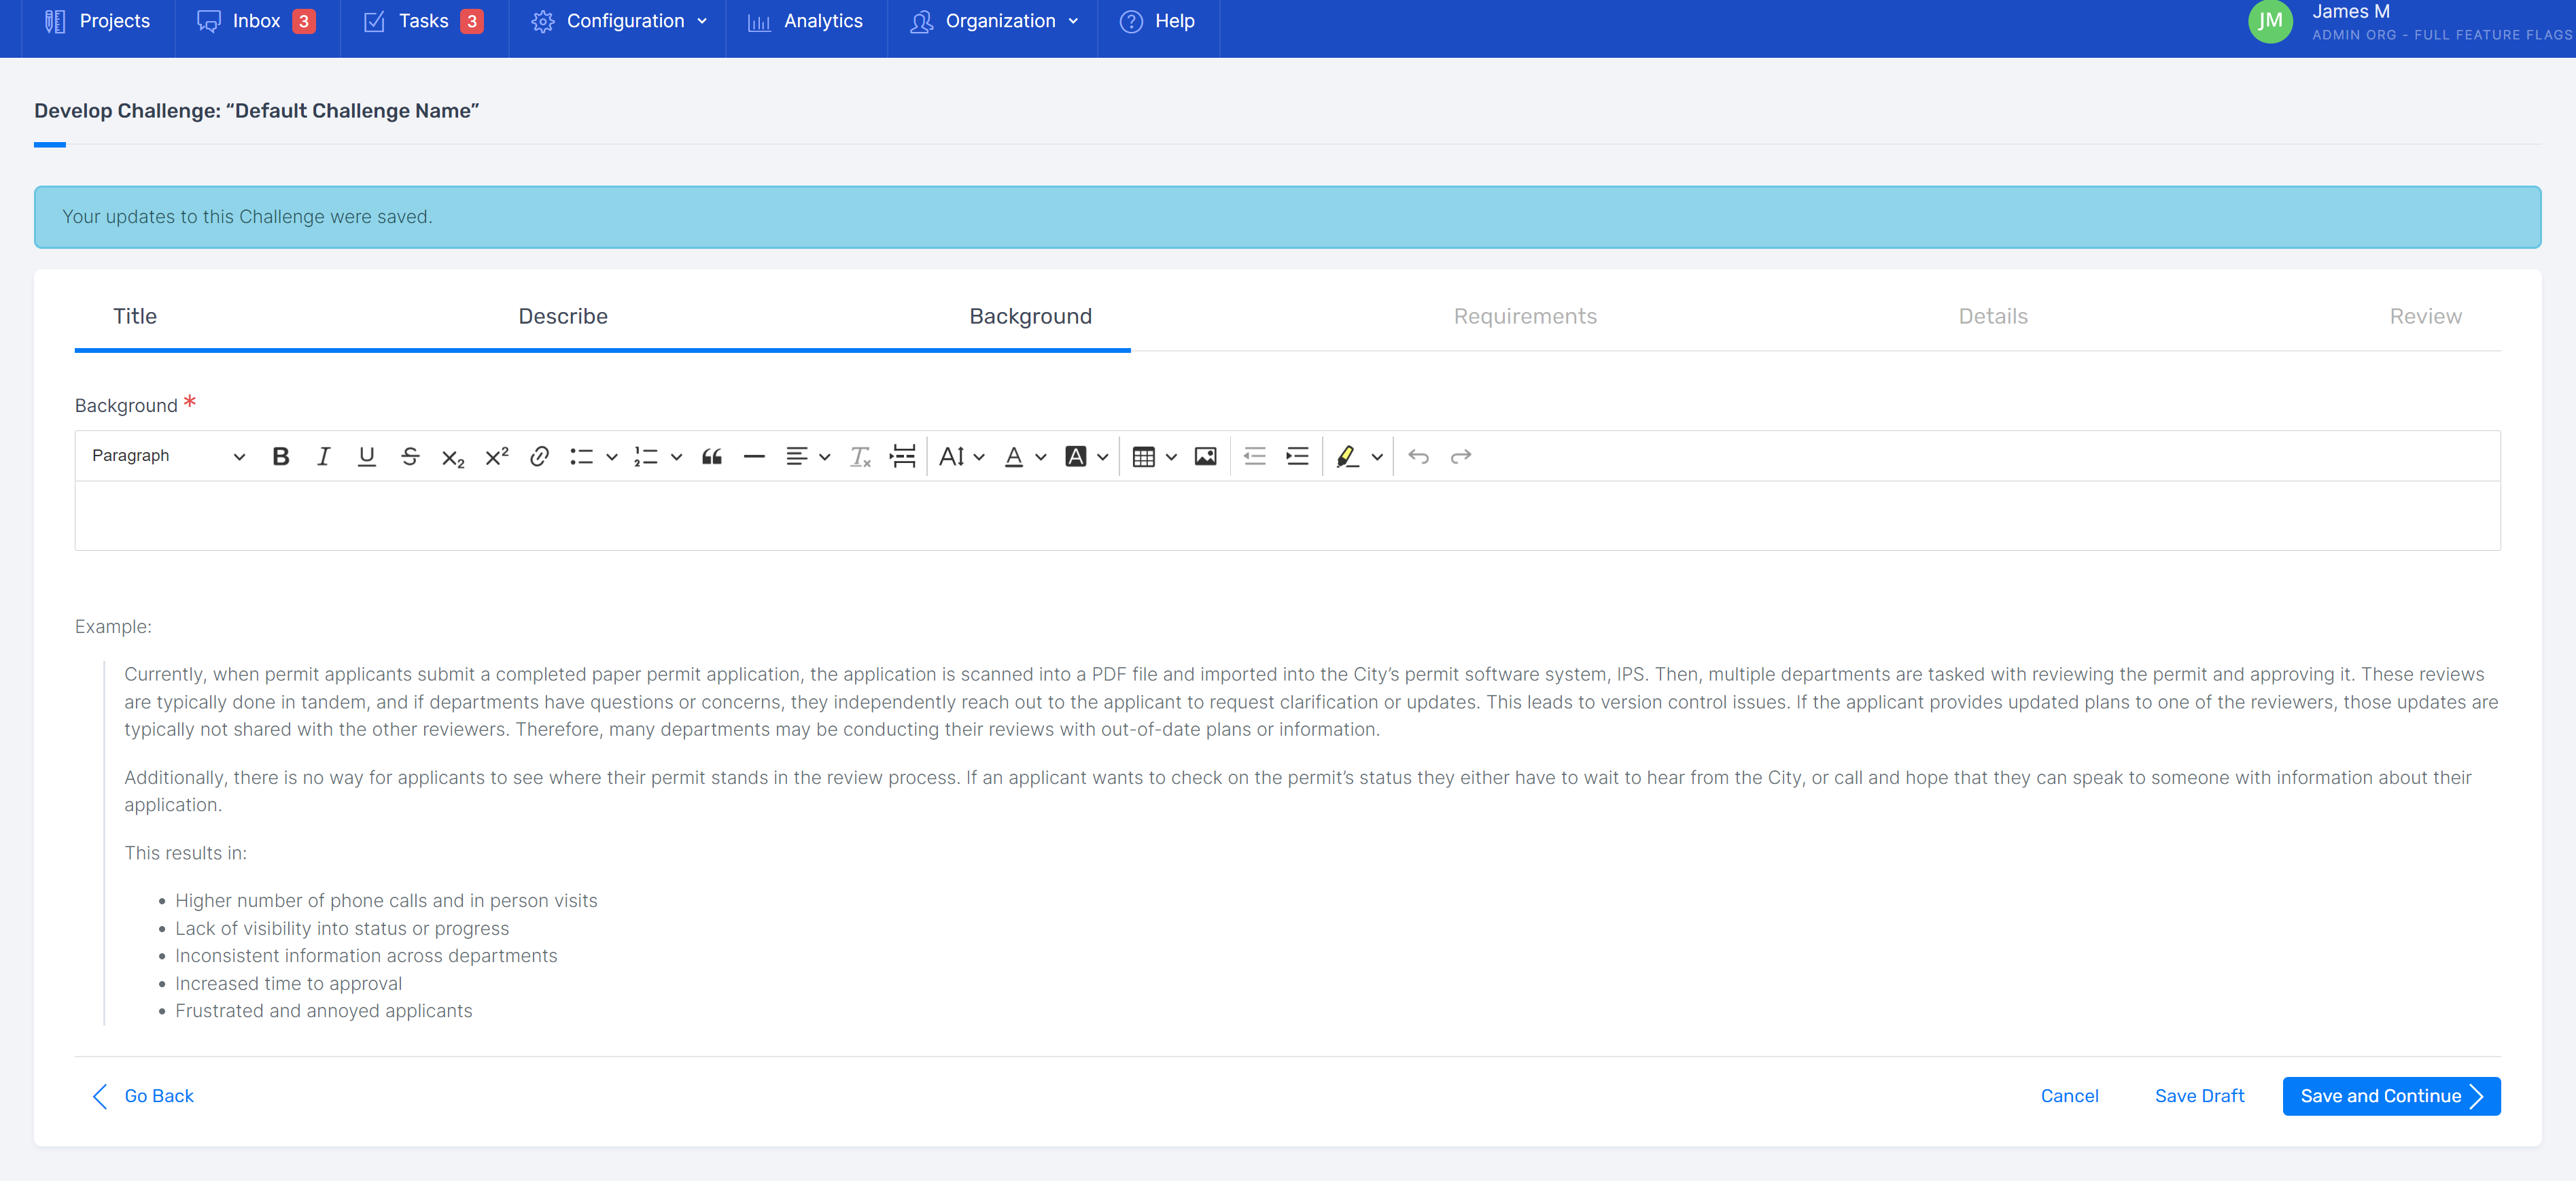
Next, provide some background information. This is your opportunity to describe the context surrounding what the respondents are asked to submit. Focus on the problem itself as you fill out the background and avoid throwing in ideas for exactly how you think it should be addressed.

Requirements
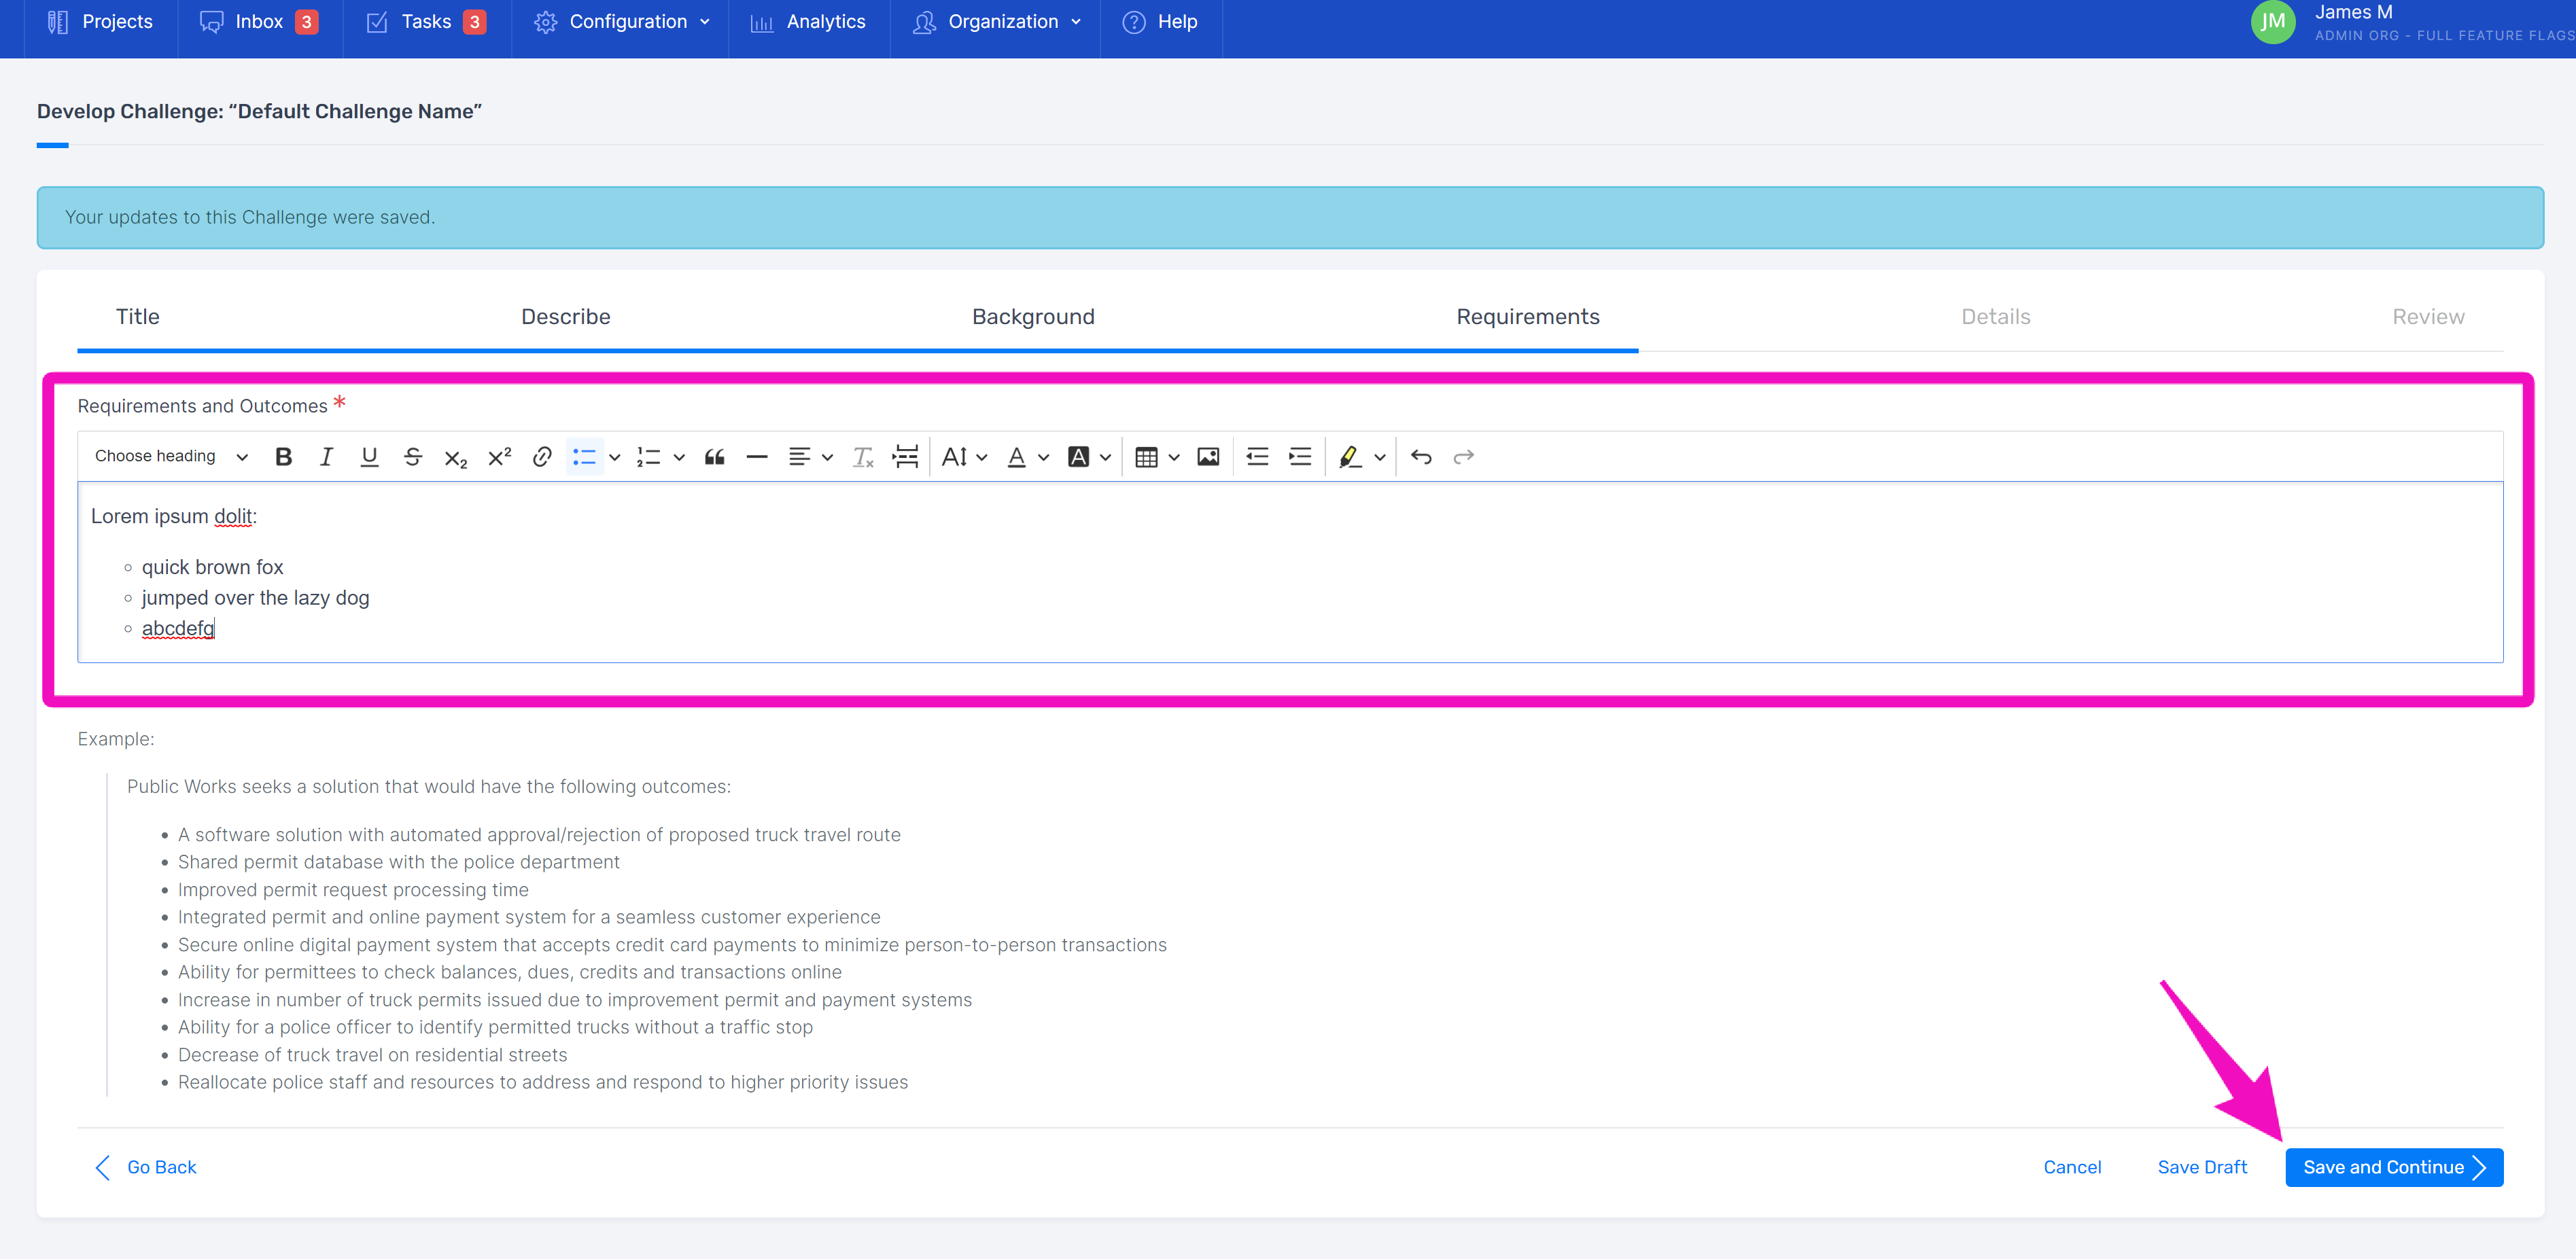
List any requirements you have or outcomes you expect from the solution. Provide a clear list of bullet points to help respondents propose their solution. Provide a clear list of bullet points to help respondents propose their solution.
Details
List out the details of the project, such as the name of your department or agency, as many challenge category ids as needed, project manager, and budget information.
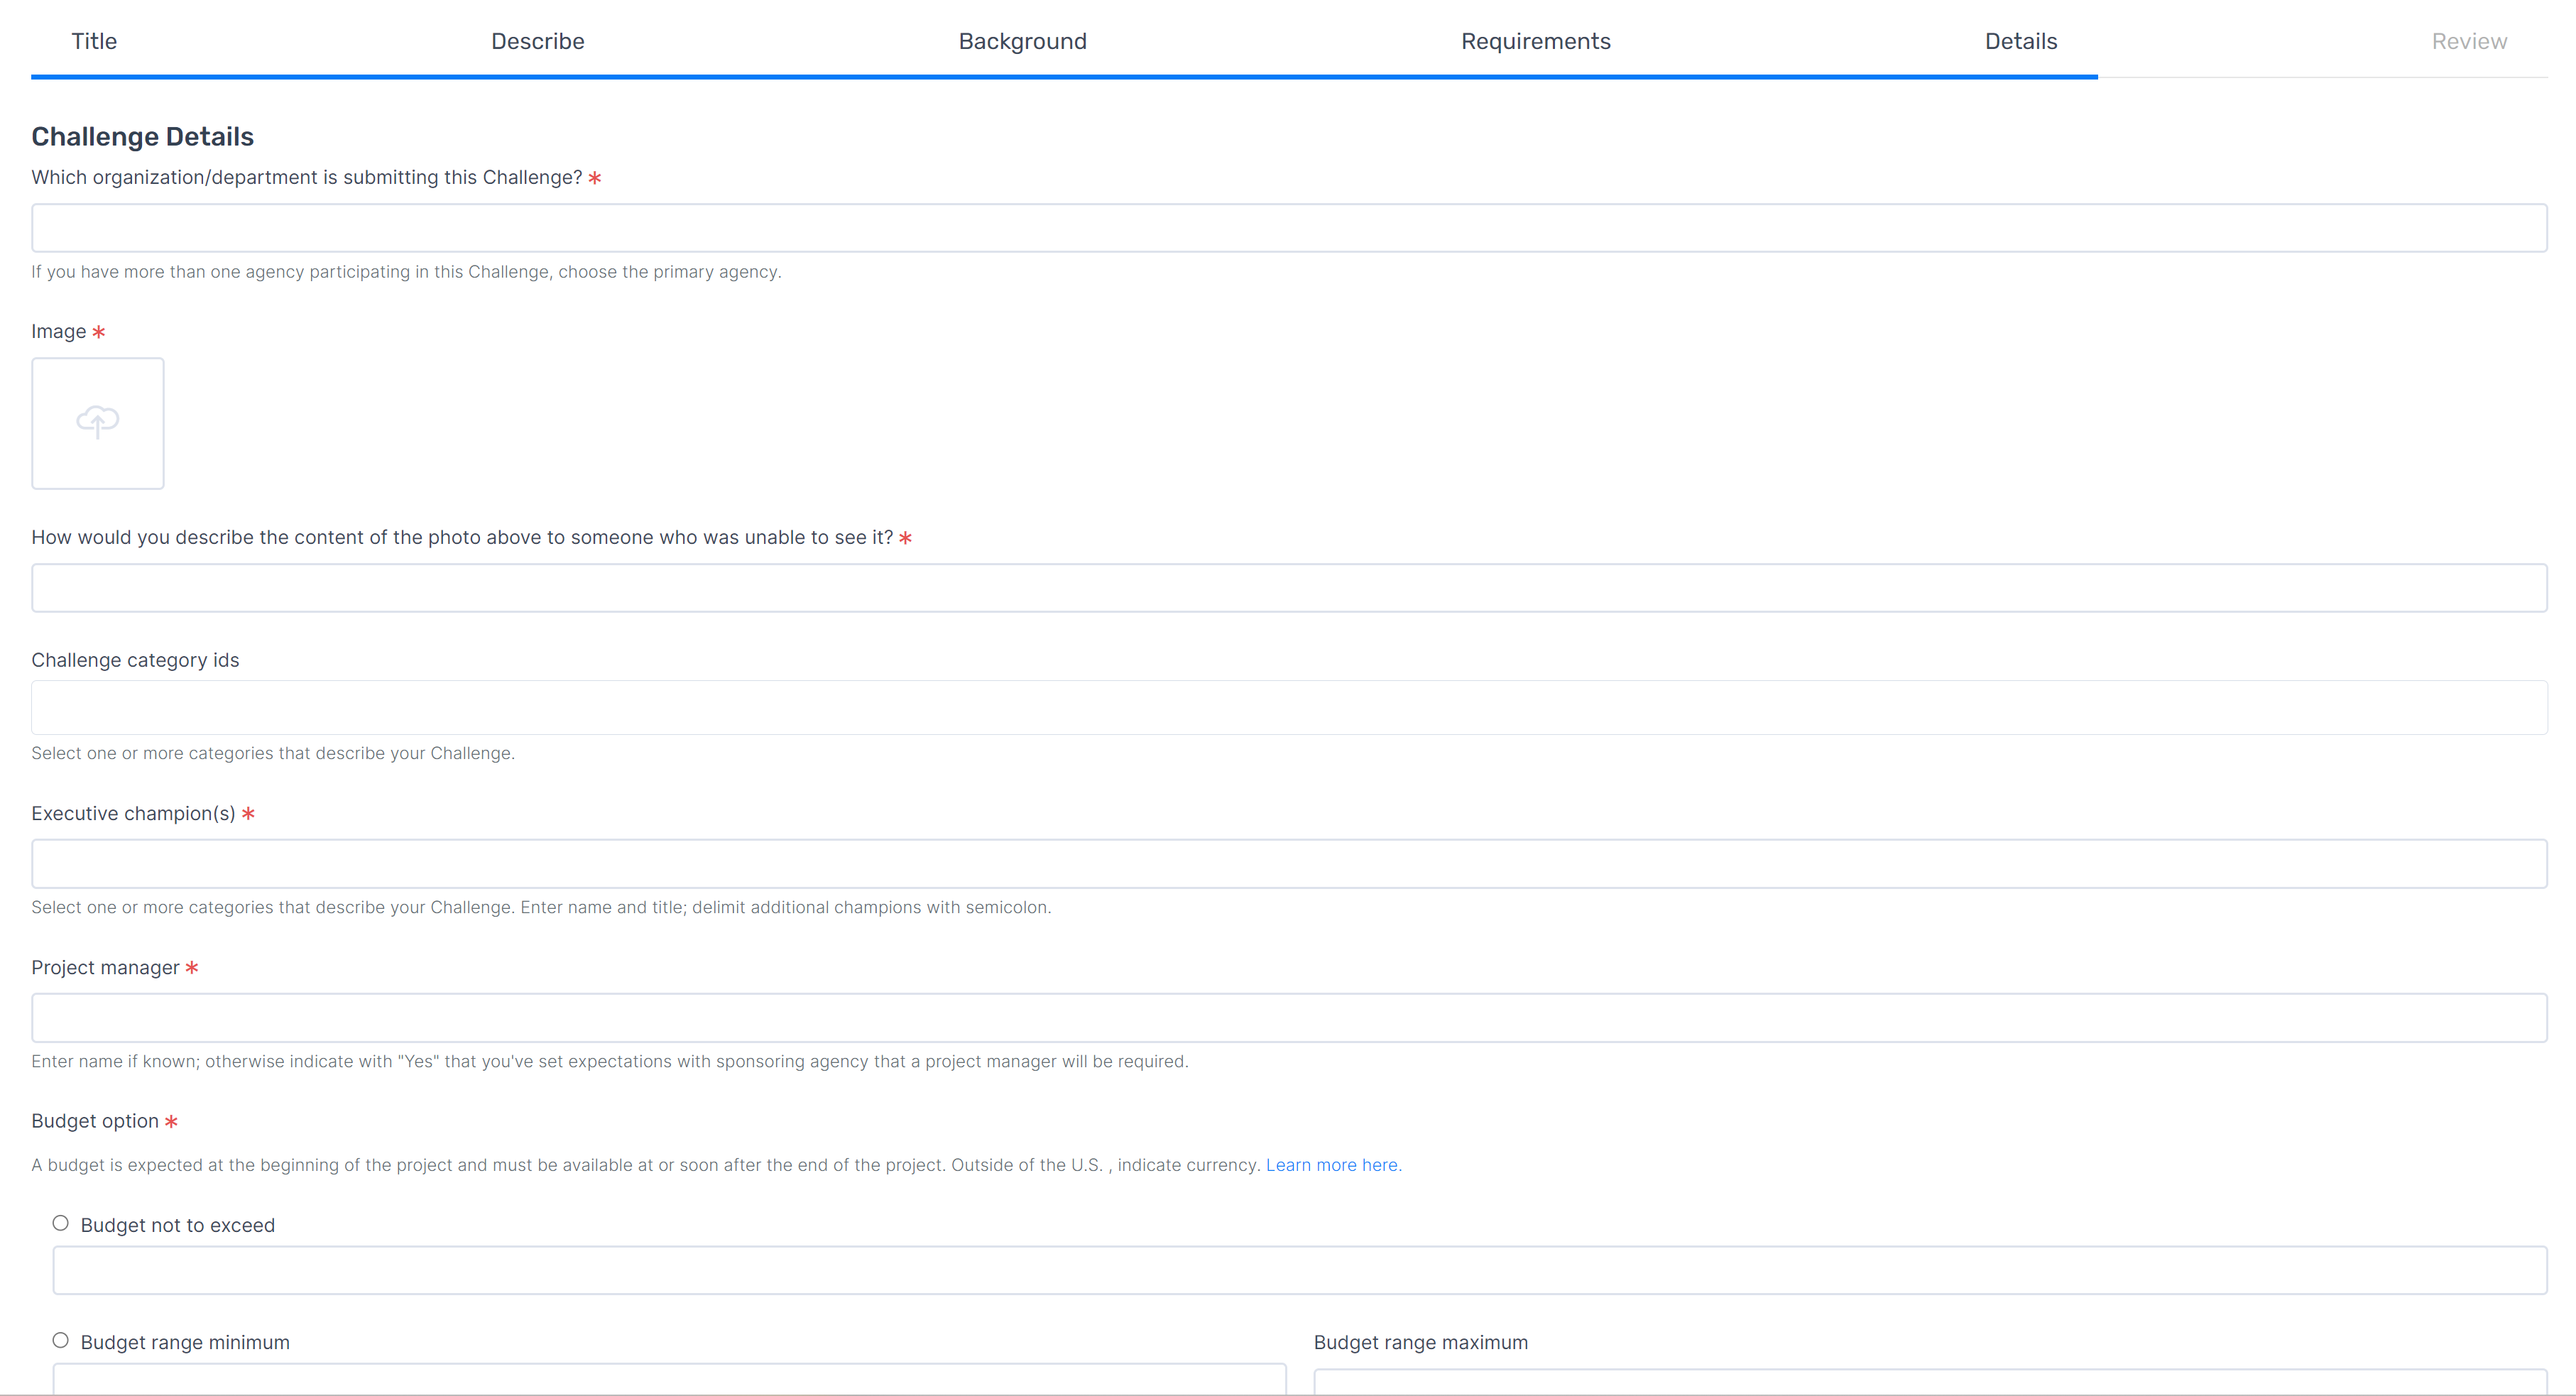
Please note, it’s up to you to input challenge category ids. Simply type in the id for the project, for example “Digitization” or “Communication” or “Data Security”, and it will appear in the drop down menu for future challenges.
Review
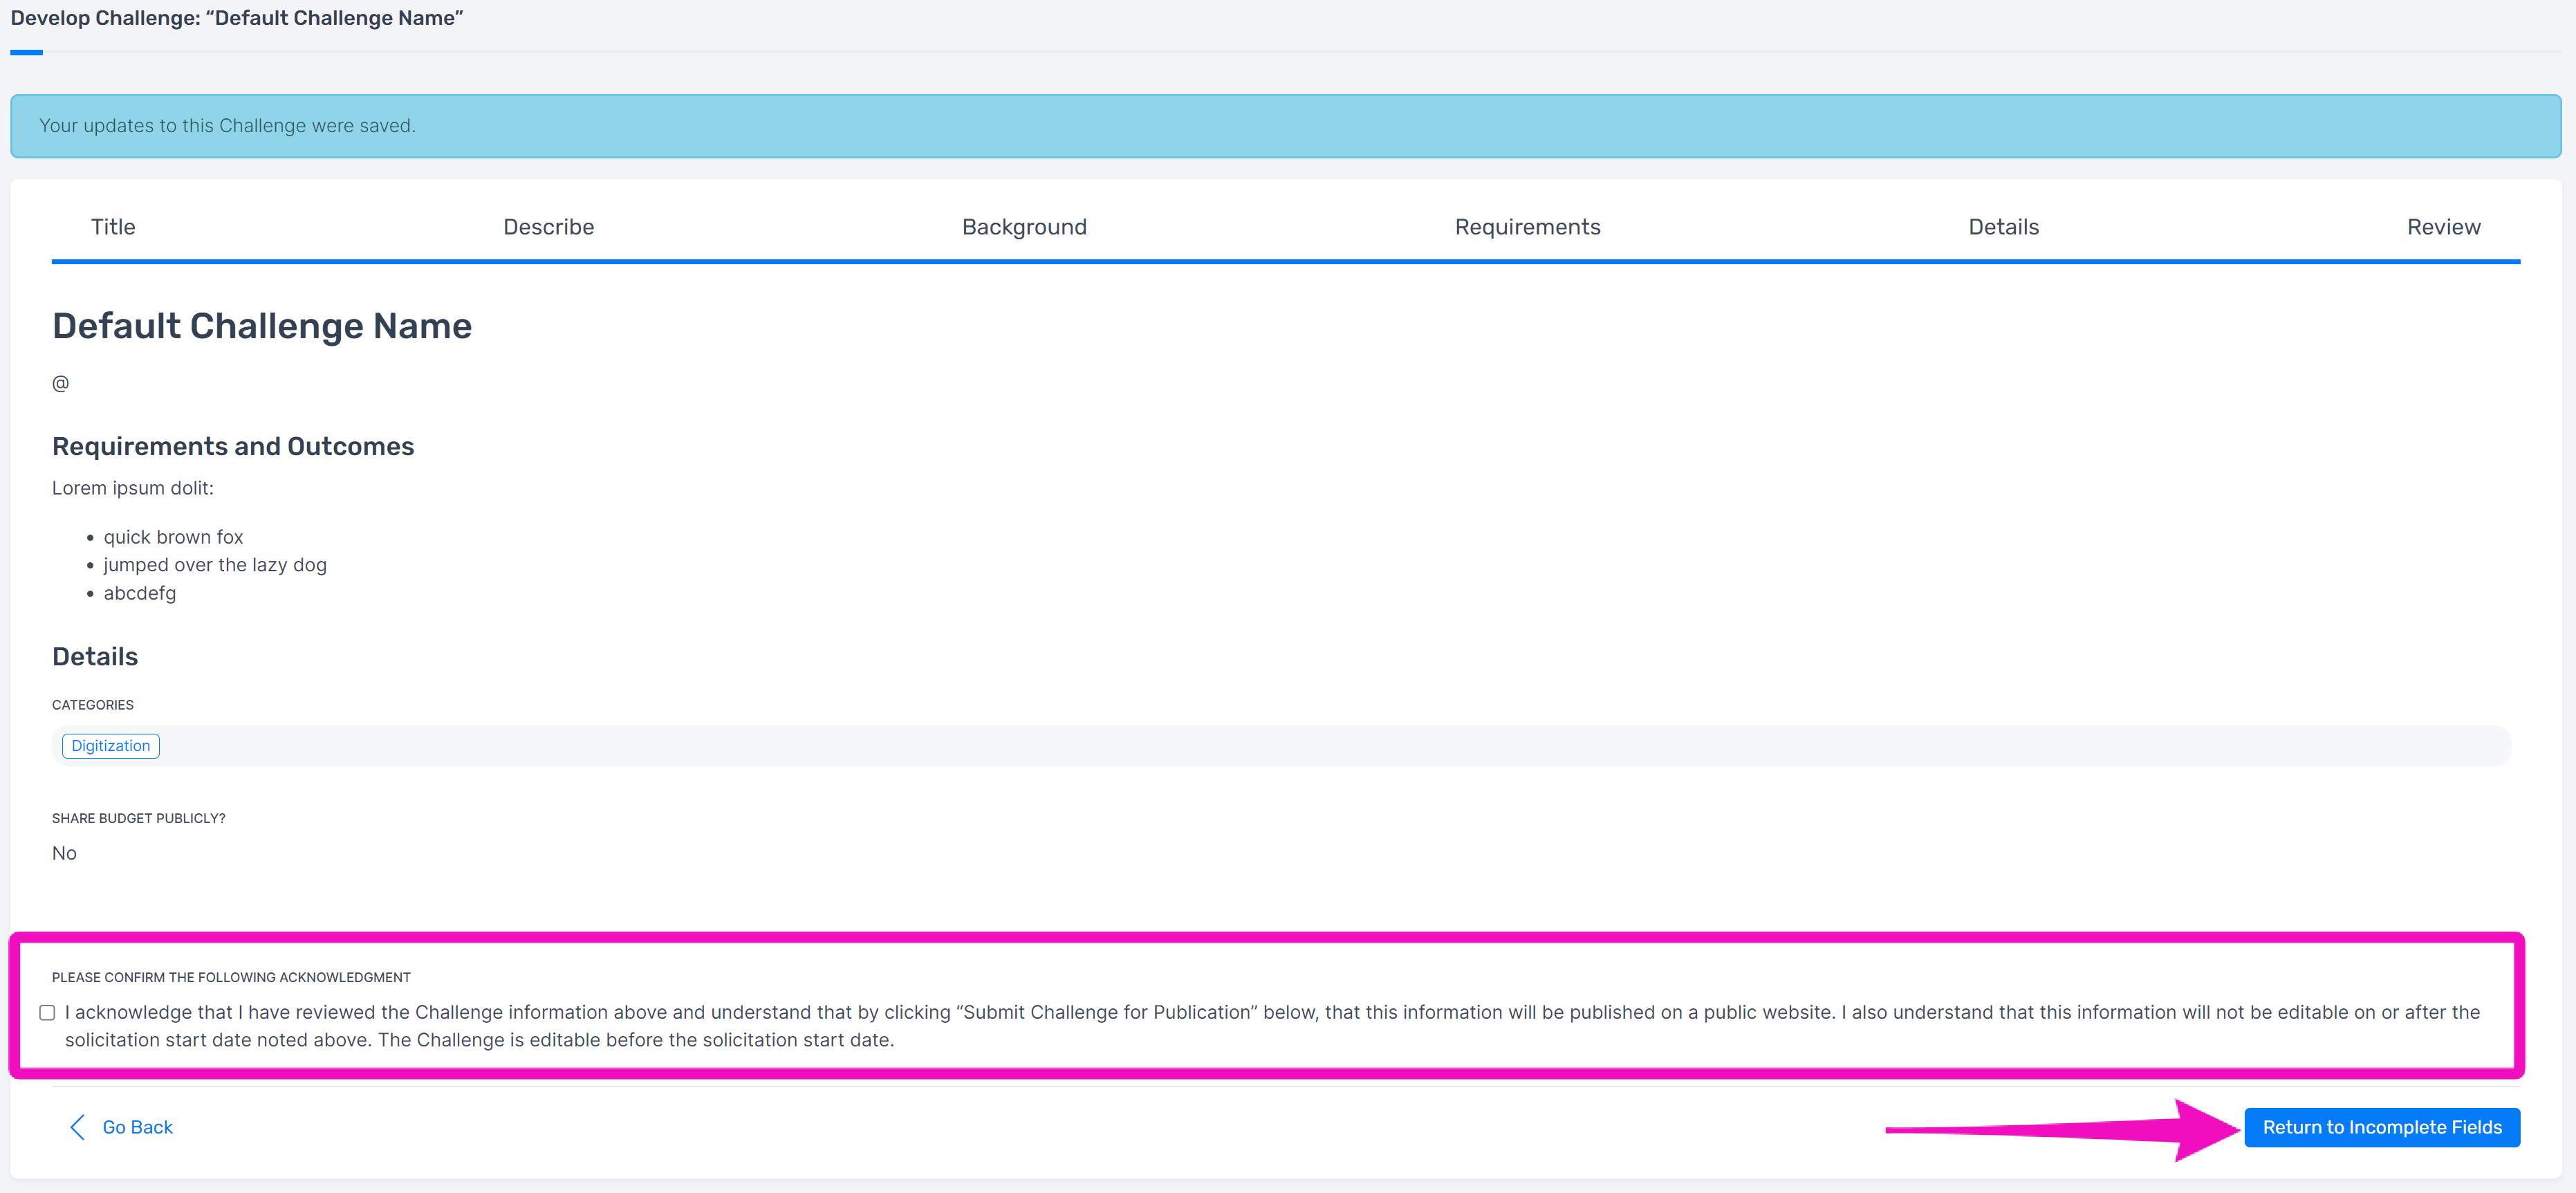
Once you have filled out your details, the platform will assemble the content of your Landing page for review.
If you have left certain sections blank, you will not have the option of publishing yet. Instead, you can return to incomplete sections to finish.
When all sections have been filled out, click the acknowledgement and finish.